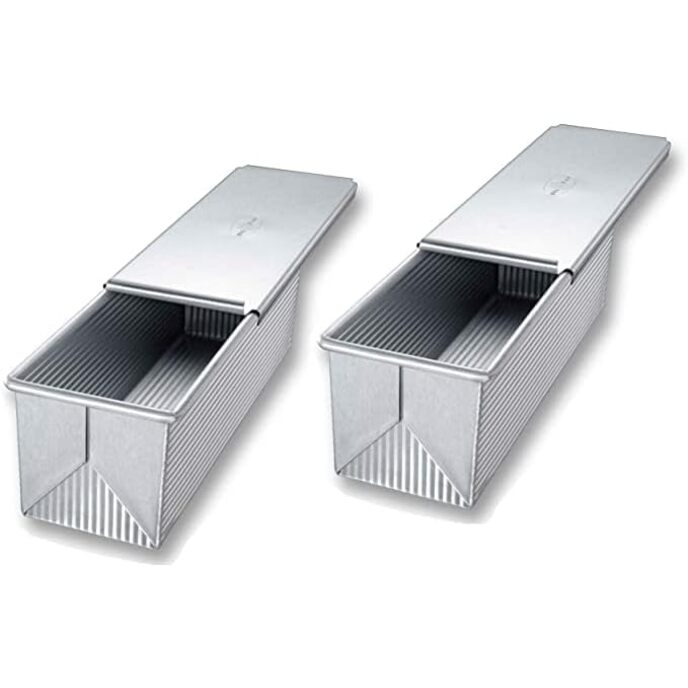
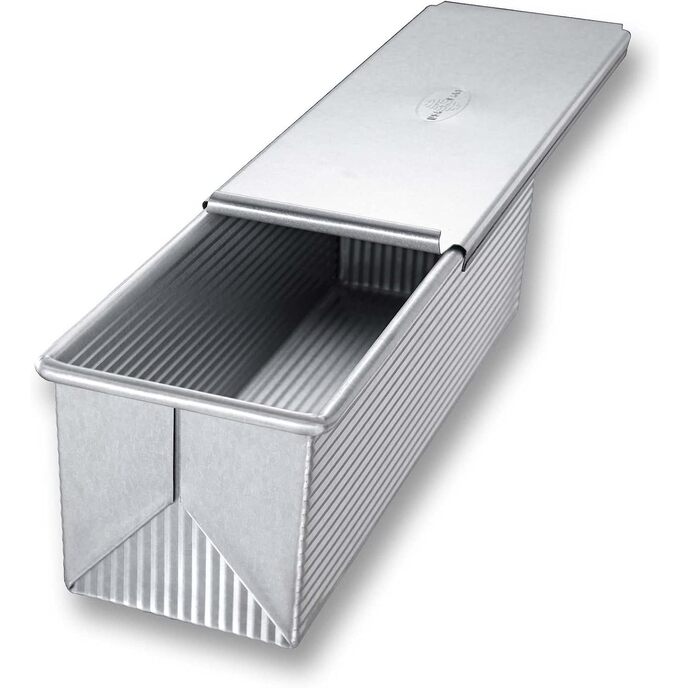
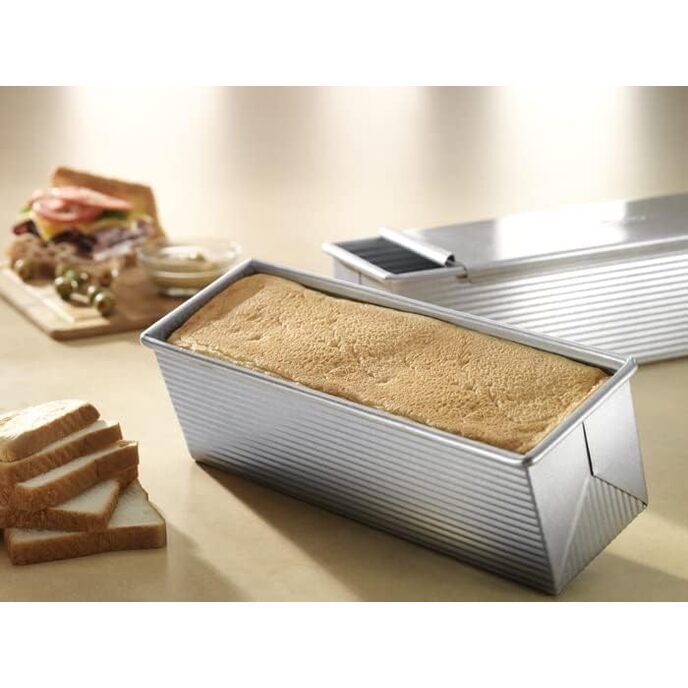
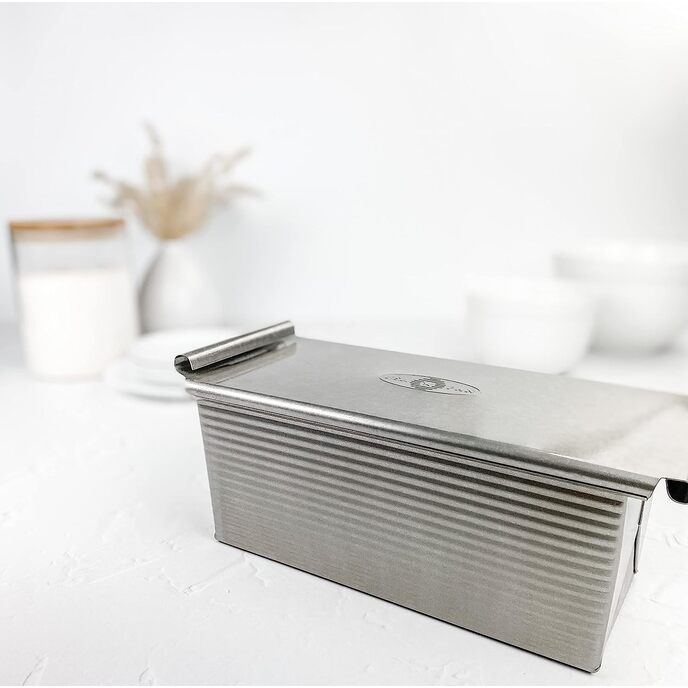
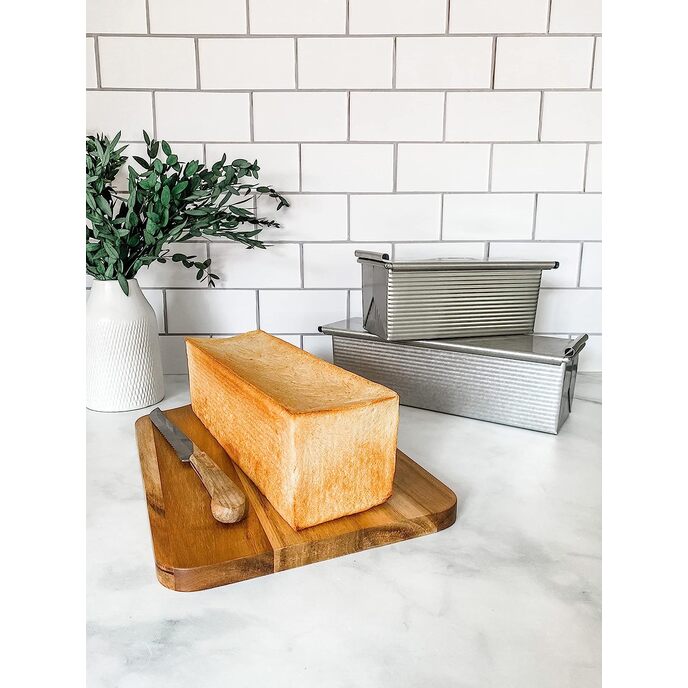
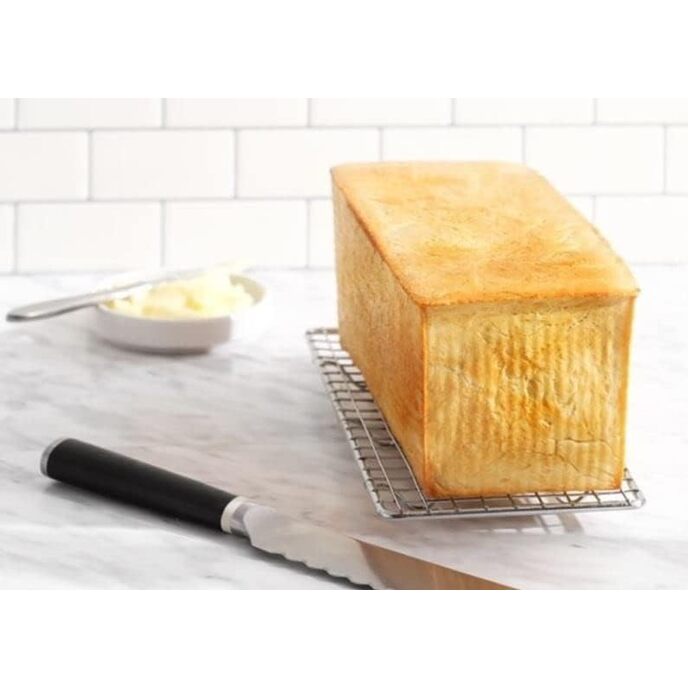
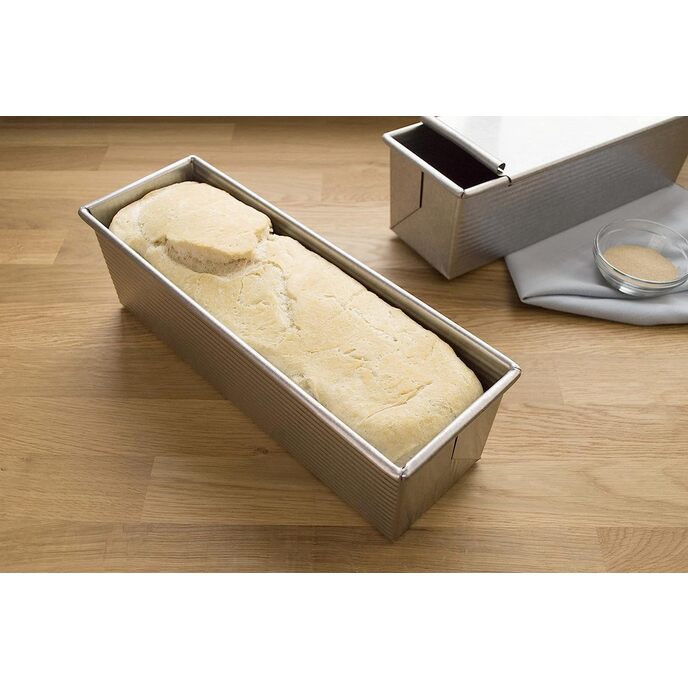
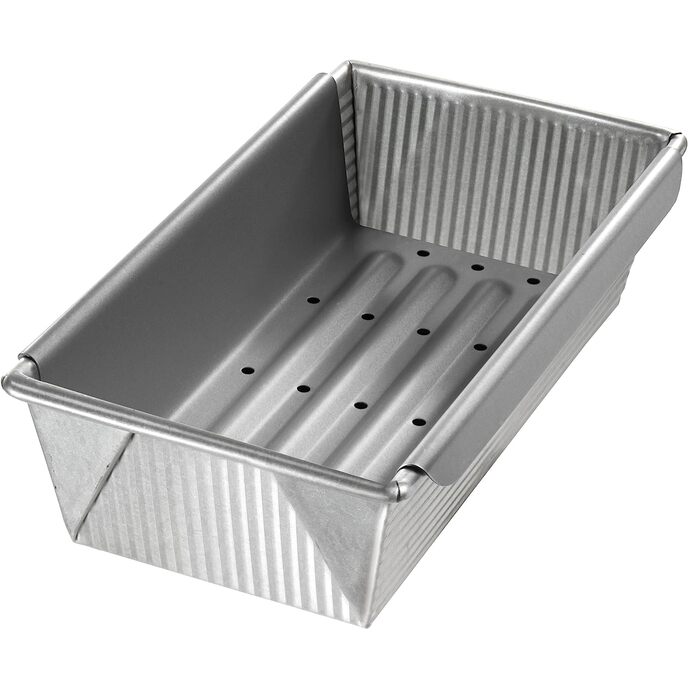
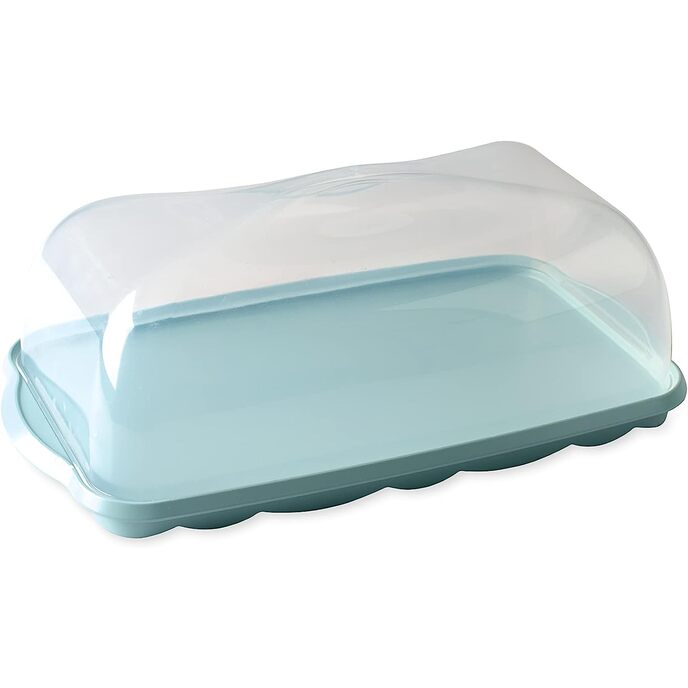
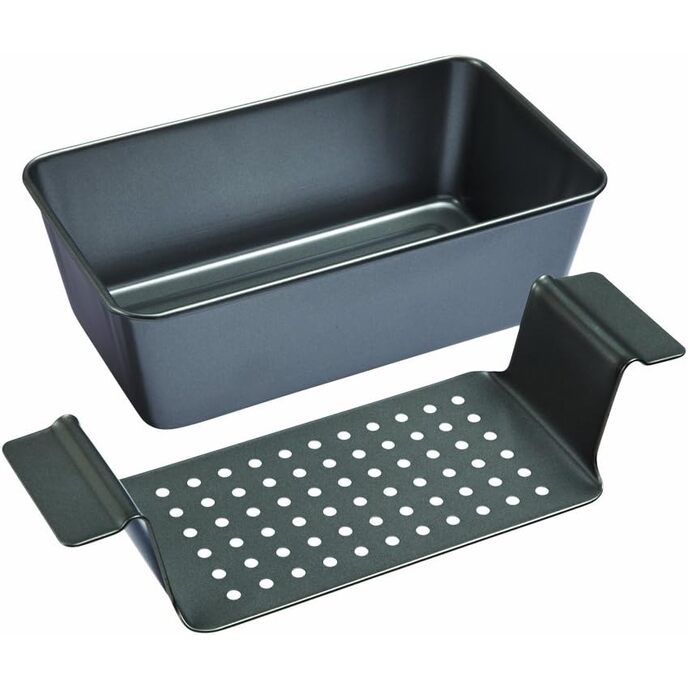
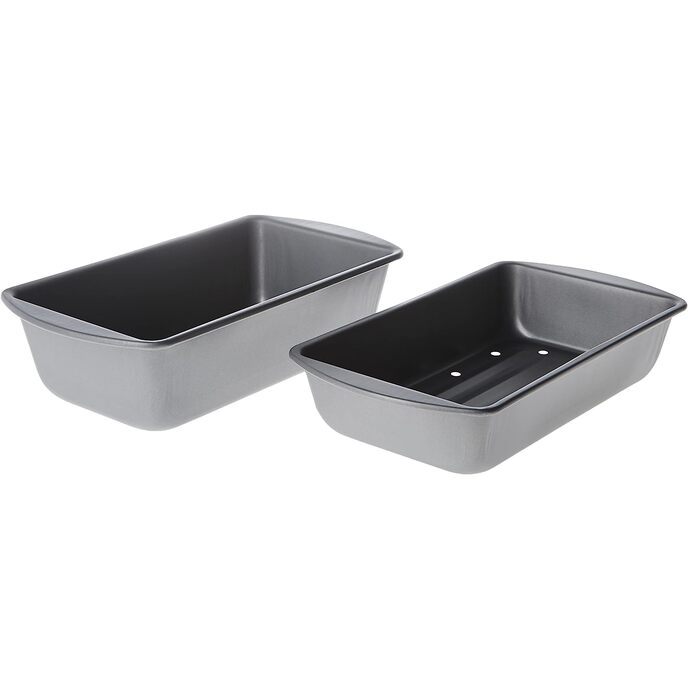
This item was ordered on Wednesday January 1, 2014, and delivered on Friday January 3, 2014 (Amazon Prime) -- speedy service! This pan is very well made (in the USA!), of quite heavy aluminized steel, corrugated to provide even cooking and extra strength. It is also coated with "Americoat" silicone coating on top and bottom for a non-stick surface. This particular pan is available in two sizes, 9X4X4 and 13X4X4, the latter makes a loaf that handily fits my large bread storage bins. Some other manufacturers also make one at 16X4X4 -- too big for my storage bins, and some sell the lid separately, surely just so they can charge more for the bundle! I'll pass on that scheme, thank you. Not that I am unhappy with my usual bread pans, I just wanted a Pullman loaf (c.f. 'Pain de Mie'), with ≈ 4" X 4" square slices instead of a loaf with a rounded "dome", that and a bit longer loaf, as my usual loaf just seems to "evaporate" too quickly. Note: This pan does not exactly have a square cross section, it is more accurately an inverted isosceles trapezoid (slightly wider at the top than at the bottom), ditto for the cross section of a slice of bread from this pan; the difference is hardly noticeable, but probably does contribute to the ease of release. I couldn't wait to try it, so for my first shot, for a 1½lb. loaf, I just increased my usual 1 lb. white bread recipe ingredients by 50% (all but the butter, which I did not change). As usual, I let my old bread machine do the mixing and kneading of the dough, then a quick deflation and shaping of the loaf by hand then I firmly tamped it into the Pullman pan. I let it rise a final time, the pan covered with plastic wrap¹ so I could observe the rise. When it had "riz" to about ¾" below the top of the pan, I slid the lid on and placed it in the oven for 25 minutes, took it out, removed the loaf from the pan and put it back into the oven for a final 15 minutes to let it brown. The browning seems just ever so slightly uneven, but not too bad at all (I see the same effect with my original loaf/recipe). I let the loaf rest overnight, and cut into it the next morning. The crumb was just a bit tighter/denser than my traditional loaf, if only for the compression in the closed pan. Of course that is the whole idea of a pullman loaf. At least there were no large "holes" in the final product -- this is not intended to be a "artisanal" loaf, but for uniform sandwich slices! I have seen a number of strange recommendations among the reviews of this product, such as: "Put on lid almost closed, and let rise ...." or "Don't slide the pan all the way till it "locks" when you bake in the oven." Some folks have even suggested that you bake the loaf without installing the lid at all! (If so, then why did you buy a pullman loaf pan?) I suggest that you NOT PUT THE LID ON AT ALL FOR THE FINAL RISE in the pan. Instead, LEAVE THE LID OFF, and COVER THE PAN WITH PLASTIC WRAP, to maintain a uniform draft-free micro-environment in the pan during the last rise, and to ALLOW YOU TO OBSERVE THE RISING PROCESS! When the dough has risen to about ¾" to 1" below the top of the pan, then slide the lid ALL THE WAY ON, UNTIL IT LOCKS. Yes, that's the whole idea to a pullman loaf pan! There also seems to be some debate as to whether you need to grease, butter, or apply non-stick cooking spray to the pan. Yes, I read the product description, where it says that the pan is coated with Americoat silicone coating on top and bottom, for a non-stick surface. However, I didn't want to depend on that for my first shot, and perhaps have to pry shreds of stuck-on bread out of the pan, so I gave the pan and the underside of the lid a quick spritz withCrisco Pan Release Spray, 14 Ounce (Pack of 6) ¹, which I have found to be better than similar products. I may omit that step in the future. [¹ After the fact, I discovered the following directions on the USA Pans (manufacturer's) web site: ('Tis interesting that they suggest lightly greasing that "Americoat" silicone treated pan!), Quote: "Lightly grease a 13 x 4 USA Pan(tm) Pullman Loaf Pan. Transfer the risen dough to a lightly greased ... work surface [On a greased surface? No way, certainly not for me, just a lightly floured surface works very nicely. -FRN], shape it into a 13-inch log, and fit it into the pan. Cover the pan with lightly greased plastic wrap [Ungreased for me - I wasn't going to let it rise enough to touch the plastic wrap! -FRN], and allow the dough to rise until it's just below the lip of the pan, 45 minutes to 1 hour, depending on the warmth of your kitchen. "Remove the plastic, and carefully place the cover on the pan, let it rest an additional 10 minutes while oven preheats to 350°F. Bake the bread for 25 minutes. Remove the pan from the oven, carefully remove the lid, and return the bread to the oven to bake for an additional 20 minutes, or until it tests done; an instant-read thermometer inserted into the center will register 190°F. Remove the bread from the oven, and turn it out of the pan onto a rack to cool completely."] I guess I got it pretty close!