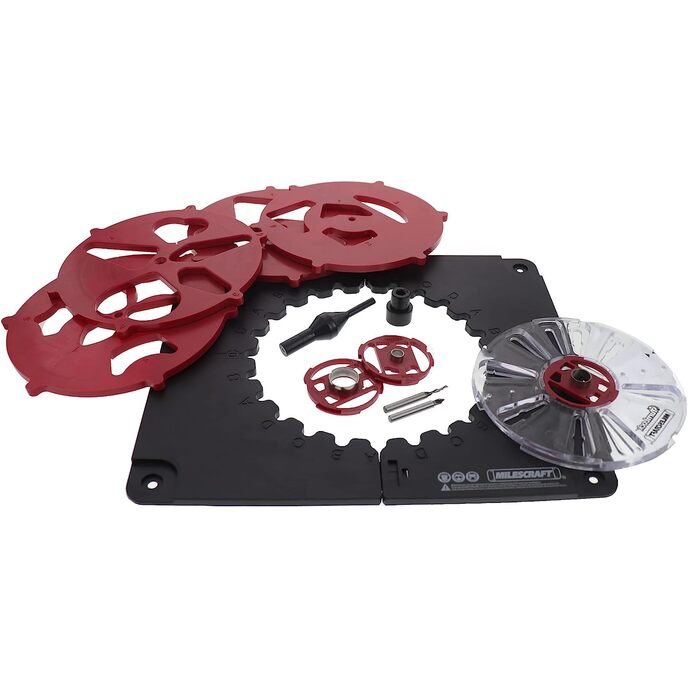
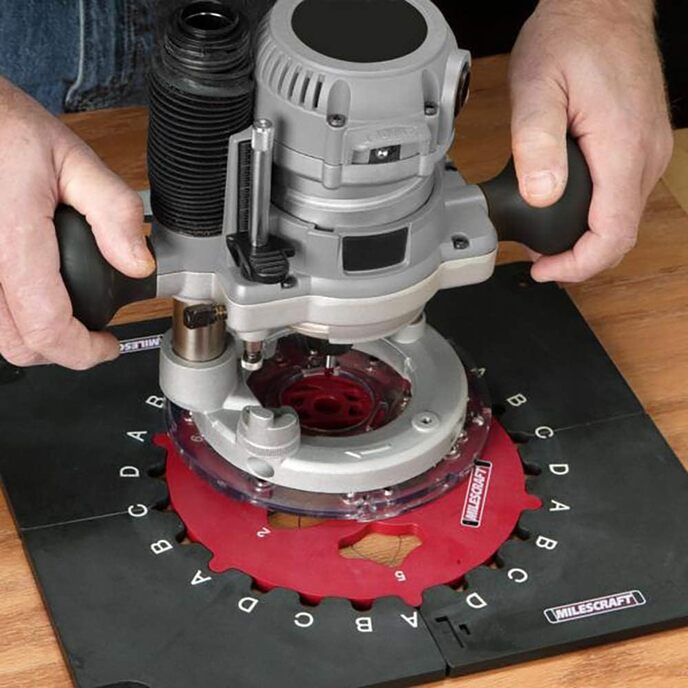
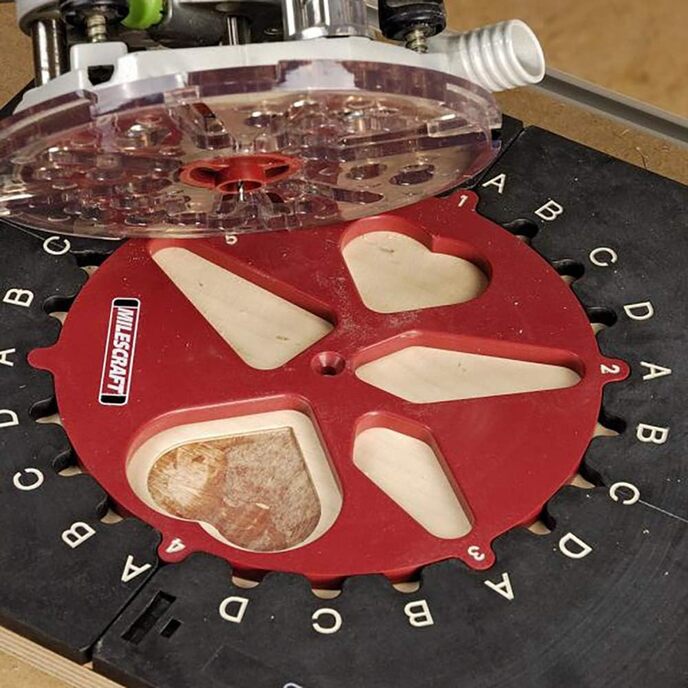
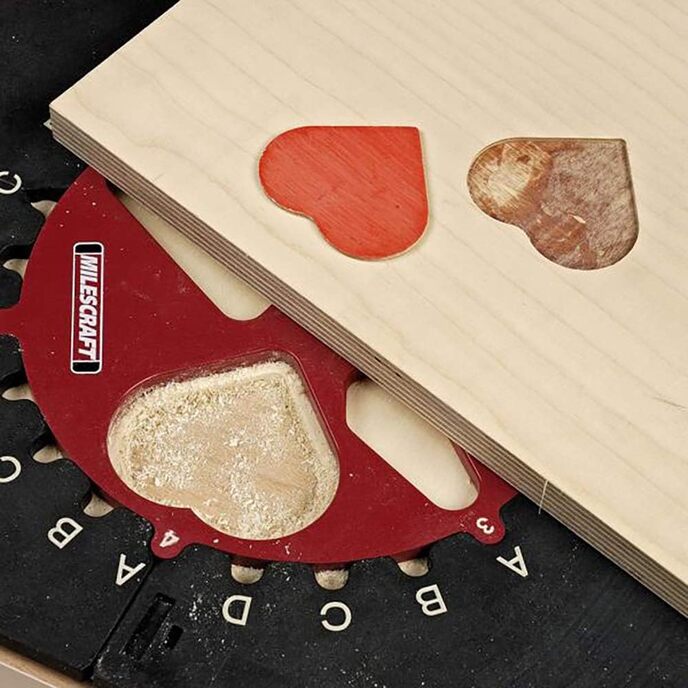
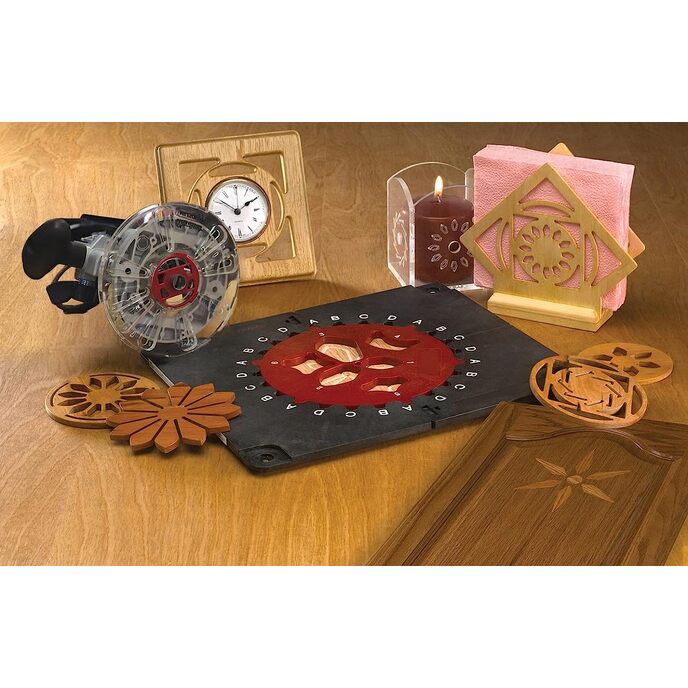
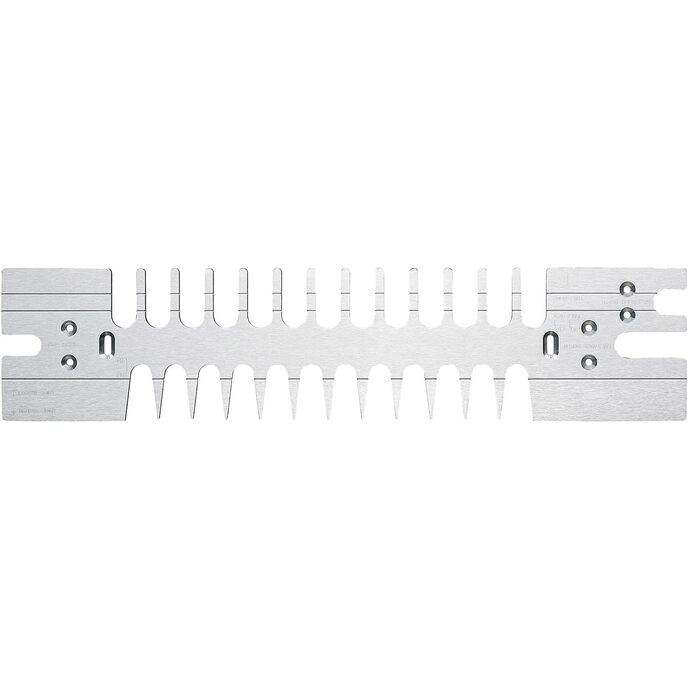
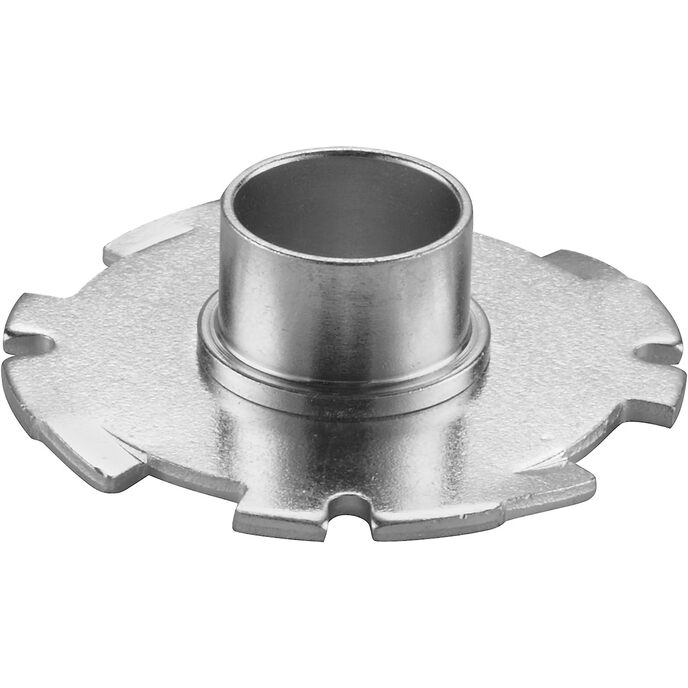
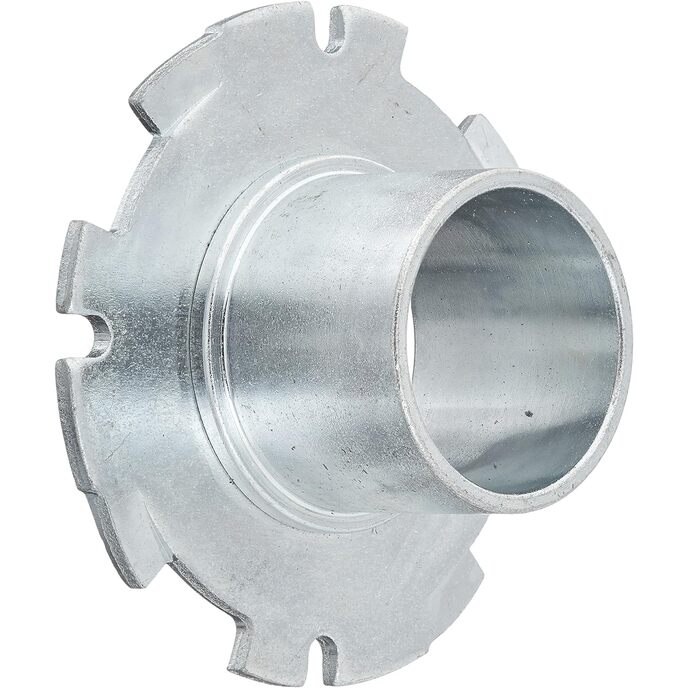
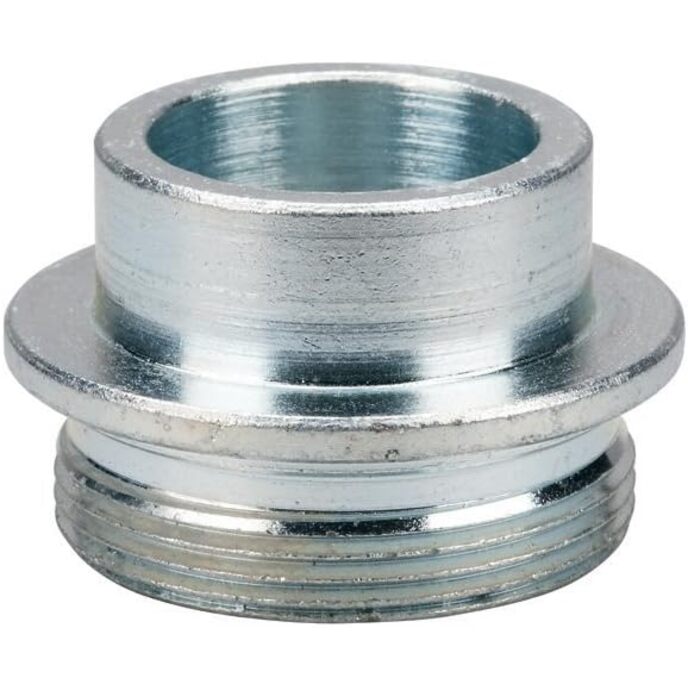
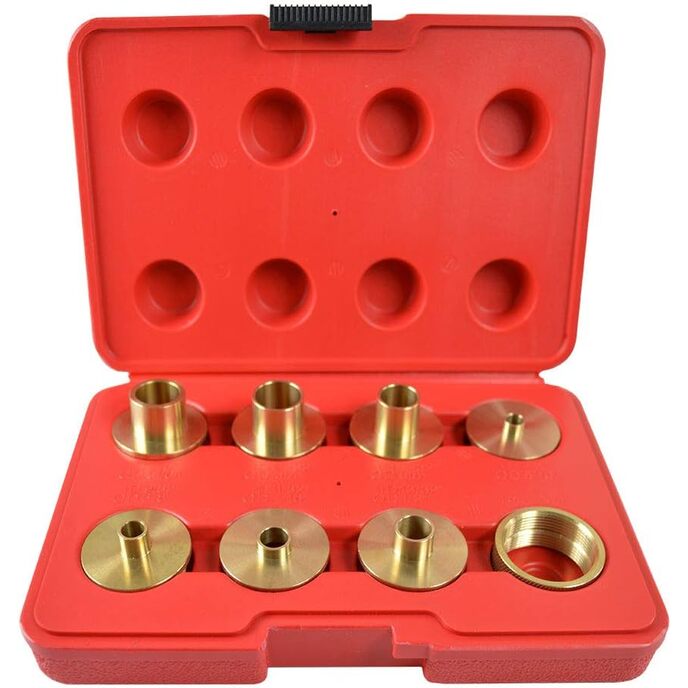
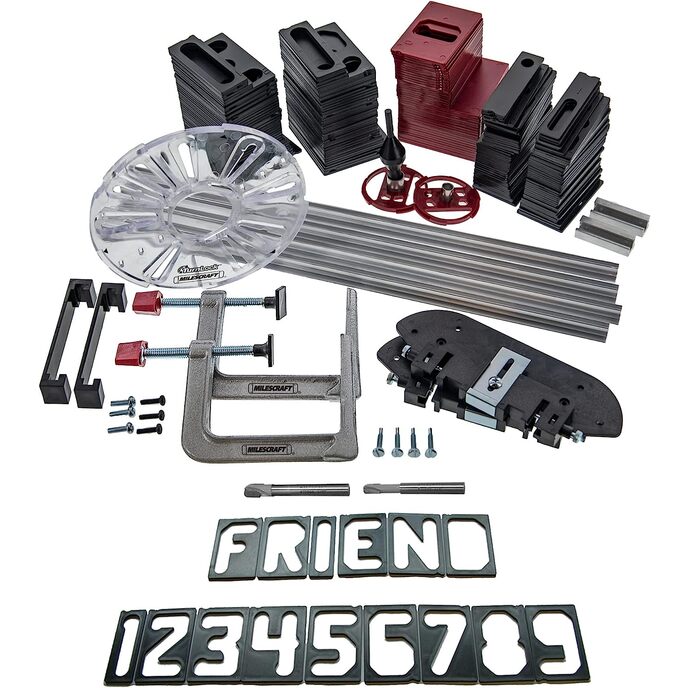
Thus far I give this product three stars. Please read the whole review as certain parts are explained later. The v groove bit is worthless. It cuts a very rough edge. You can see the cutting edge on the bit isn't straight. The kit cam with a 24mm bushing instead of a 5/8" pushing. This makes the centering pin worthless. The instructions seem to suggest that you should "eyeball" the alignment, which is ridiculous. The spiral bit works well. It makes a clean cut. Something of interest is that both bits cam in little zip lock bags, lightly oiled. This may suggests the bits are a low-quality steel that is prone to rusting. Time will tell. The base plate is nice. It fits my Ridgid router just fine. The bushings are not of the same design as in the video for this product; they are of a weaker design. They do work well enough. The turn-lock system is nice. Removing the bushing is fast and easy. The pencil bushing is a nice touch, allowing you to mock up what you are about to route. The template system itself is nice and solid. They do provide a good number of template idea as well. For some reason, they don't provide a good, clear explanation on how to use the system, and the guy in the video talks like Youtube is charging them by the second (he talks too fast). With about five minutes of study, however, it can be figured out how to use the system. I have spoken with customer service about some issues. The lady I exchanged emails with was very quick to respond. She sent me a new v groove bit to replace the faulty one. I haven't used it yet, but the cutting edges look better. She explained that the guy in the video was talking fast because he had to get all the information in for certain parts of the video. This was probably a result of them shooting the video without properly timing out how long it took to dictate. She didn't really answer my questions about the centering pin. It seems to me that she thinks "eyeballing" the alignment is acceptable, which it is not. It should be noted that when using the template system, you will need to come up with a way of clamping down your work piece. This means you cannot use this templating system without the aid of clamps/screws and some ingenuity. In the video, the work piece is the exact same size as the templating system, and it's on a table that seems to be designed perfectly for such a thing. Obviously, this would almost never be the case in reality. I understand that the video needs to be as ambiguous as possible, but I feel it would have been more realistic and helpful to show the process using a work piece that isn't perfectly sized. In reality, you will need to come up with a way of clamping your work piece down so as to make the templating system useful. You can't actually clamp the templating system down at the corners using standard clamps. The router itself needs to be able to slide over the corners unobstructed. Clamping your work piece between scrap pieces horizontally is the most realistic method. This can be done with a bench vise and dogs, or with long clamps (then clamping the long clamps down to the bench with other clamps). Such tactics, in woodworking, are typical and can be assumed, but for the would-be purchaser of this kit, it should be stated upfront, just to make sure it's understood. There are some other reviews were people didn't know this, resulting in poor reviews. One more thing to mention is the fit of the inlay pieces produced by this kit. The video suggests that the fit should be so good that the pieces will "snap" into place. After making several inlays with this kit I never found that to be the case. In fact, the inlay was always loose in the recess; by about a half millimeter. The kit comes with an 11mm bushing and a 17mm bushing for this process. The spiral bit itself is 1/8". Doing some simple math, if the recess bushing is 17mm and the bit is 1/8", then the inlay bushing should be 10.64mm. This could possibly explain the half millimeter discrepancy i was experiencing. I mentioned this to the lady at customer service. To my surprise she said the bushing size was actually 11.11mm. She explained that this diameter was the result of years to testing; there apparently should be a certain amount of flex in the bushing to accommodate for the larger size. In other words, they expect the bushings to flex and give. To me, this seems like a poor idea. I don't know why they no longer make the bushings using the stronger design like the ones in the video. It seems to me that that design would be less prone to flexing. All that said about the inlay, the process does work. I think if you apply the right amount of pressure and are consistent, you can make up for the size discrepancy. I have done a few inlays and, despite them being a little small, they all do look pretty nice, assuming I'm not trying to win a prize with it. So, all in all, if you take out the centering pin issue (I have my own centering pin and cone so it wasn't a big deal. If you don't have your own, it may be a big problem), I think this product is worth the price. The fact that you get two router bits, a base plate, bushings, and a templating guide system, I think it's a good deal. However, you do get what you pay for. Two quality router bits would cost as much as the whole kit. This kit, as I am sure it is intended, is best used for someone who just wants to have a nice inlay without the hassle of making templates, and the extra cost of buying all the components separately. Three Stars... Why it's not five stars: Had the centering pin been useful and the bushings been more rigid, I would have given five stars. Why it's not two stars: Since The v groove bit was terrible, I would have drop my rating to two stars, but their customer service was responsive and replaced the bit for free, so that negated that deduction.